


Intensify A Dull Sky
In this Photoshop tutorial I'll show you a creative and extremely effective way to improve an overexposed image by using Luminosity and the Multiply blend mode.Step 1
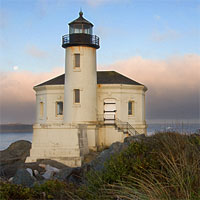
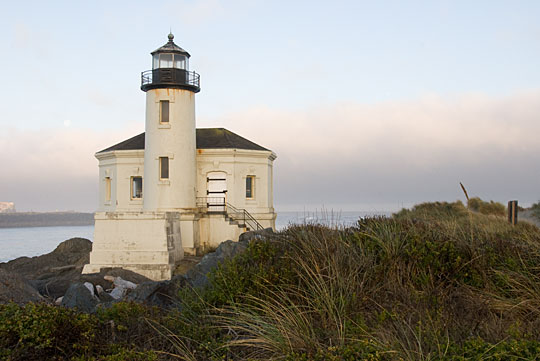
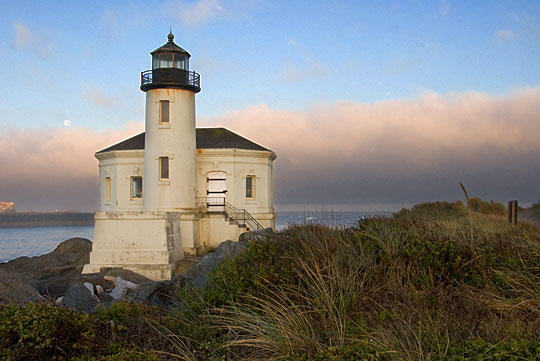
Here I have a photograph of the Bandon Lighthouse near Bandon, Oregon. This was a tricky shot because the front of the lighthouse was in shadow while the sky was still quite bright. The resulting photo as seen below needs a little fixing.
Be aware that if you’ve completely blown the sky (or any other element in you photo) completely out by overexposing the shot, this technique won’t help. At least some color information must be available for this to work.
Step 2
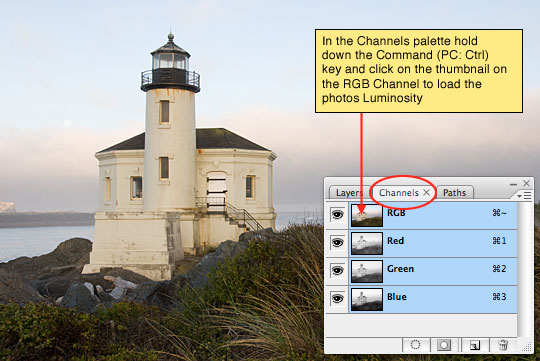
Click on the Channels tab in the Layers palette then while holding the Command (PC: Ctrl) key, click on the thumbnail of the RGB layer. This will load the Luminosity of the image as a selection. Luminosity represents all the light areas of the photograph.
Step 3
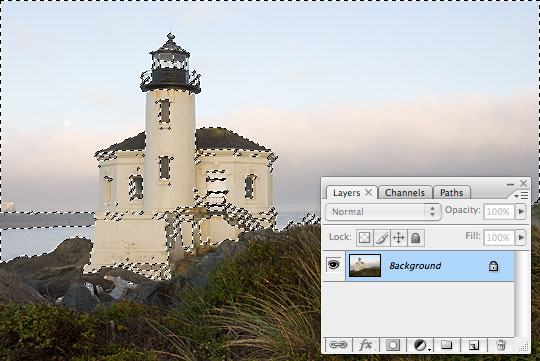
With the Luminosity selected, click back to the Layers tab in the Layers palette.
Step 4
Now simply press Command-J (PC: Ctrl-J) to duplicate the selected areas to a new layer. Your Layers palette should now look like the one below. Notice that a new layer with only the selected areas has now been created above the original layer and by default it is named Layer 1.
(*note: You can double click on the name of any layer in the Layers palette to change it’s name. I highly recommend getting used to naming each layer.)

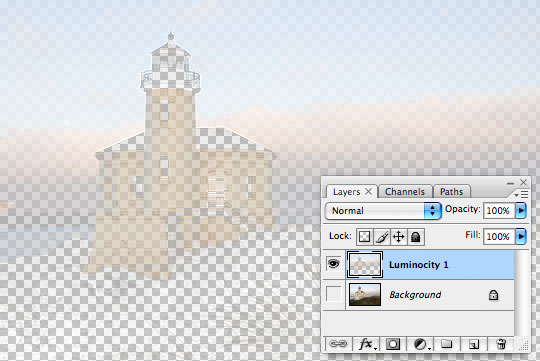
Step 5
For visual reference I’ve turned off the original Background layer so you can see the Luminosity layer by itself. Notice that only the light areas of the photograph have been copied to the new layer.
Step 6
Ok, I’ve now turned the Background layer back on and the final step is to change the Blend Mode of the Luminosity layer to Multiply by using the Blend Mode drop down menu at the top of the Layers palette.
The Multiply Blend Mode multiplies the color intensity of the top layer with the bottom layer. This produces darker colors within the composite image, giving the blend more contrast.

Step 7
You can increase the effect by duplicating the Luminosity layer again by pressing Command-J (PC: Ctrl-J).
Here you can see the dramatic difference in the image.

Step 8
My final image consists of 2 layers of the Luminosity layer and minor adjustments with Curves and Hue/Saturation, the majority of the magic however happened by simply adding the Luminosity layers.
Lesson Files + Additional Resources
There are no file downloads or additional resources for this Photoshop tutorial
Tell Your Friends
More in Photo Effects


9 Responses to Intensify A Dull Sky
ILMK
March 14th, 2008 at 8:08 am
Fantastic ideas thanks!
Kirby
March 14th, 2008 at 12:02 pm
Nice! I’ve always just duplicated the background, isolated the sky with a mask, then set the layer to overlay. This works great for sunset, but not so great for daylight skies. I’ll be adding this trick to my PS play book. :)
Tiffany
March 15th, 2008 at 2:26 pm
This is amazing. Thank you so much!
Molly
March 16th, 2008 at 8:38 am
Thank you. Just tried it. I learn something new every day.
Mack
October 21st, 2008 at 9:09 am
I’ve noticed that if you set the blending mode of the bottom luminosity layer to ‘overlay’ you get some really great looking contrast in a lot of pictures. Give it a try!
Natalia
January 12th, 2009 at 11:21 am
THANKS!
I’ve tried your idea and it’s wonderfull!
I’ve been reading your notes for a while and I like all your ideas for photo effects.
Naty
Marcela
February 16th, 2009 at 6:32 am
I love your tutorials, your tips are amazing but you keep it simple!
dave
April 14th, 2010 at 12:58 pm
thank you, it was really helpful, just like the other tuorials on this site
Ken Fung
August 14th, 2011 at 8:33 pm
Thanks for these tutorials! You are the most direct, easy to understand teacher!